A guide to mushroom spawn
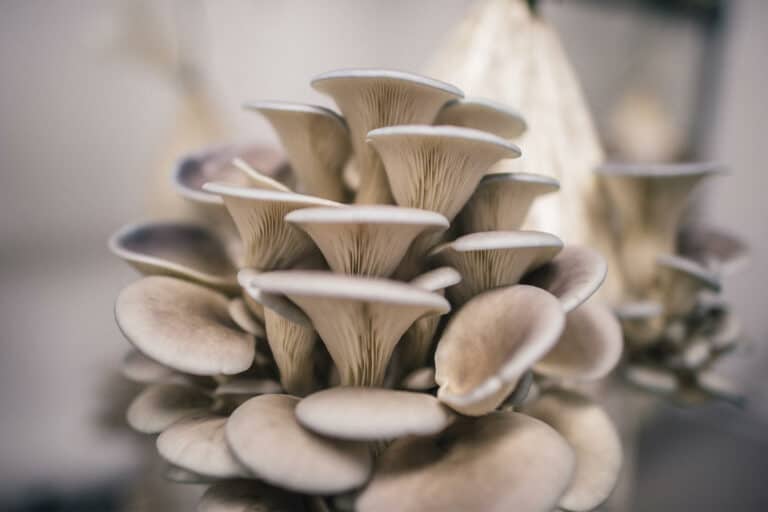
If you want to start growing mushrooms at home, obtaining or creating mushroom spawn is one of the first steps. Mushroom spawn refers to any substance (commonly called the substrate) that has mushroom mycelium inoculated inside it. The mycelia is the vegetative part of the fungus that gives rise to the mushroom fruiting bodies.
The spawn is commonly mixed with a substrate so that the white, thread-like filaments called hyphae expand and envelop it for nutrients. In this way, mushroom spawn is like the seeds of mushroom cultivation. Basically, it lets the mycelium grow happily in a smaller, well-controlled environment and then this is introduced to bigger growing medium later for big mushroom yields.
Mycelia can feed off a variety of substrates once it has been mixed in, including but not limited to sawdust, woodchips, cardboard, grain, logs, coffee grounds, and straw. Generally speaking you want your spawn to match the type of substrate you are colonizing. For instance, wooden spawn plugs work great with logs and stumps, and grain spawn works well with straw.
In this article, we’ll take a look at the different types of mushroom spawn, where they can be found, and how to make your own!
Types of Mushroom Spawn
Grain Spawn
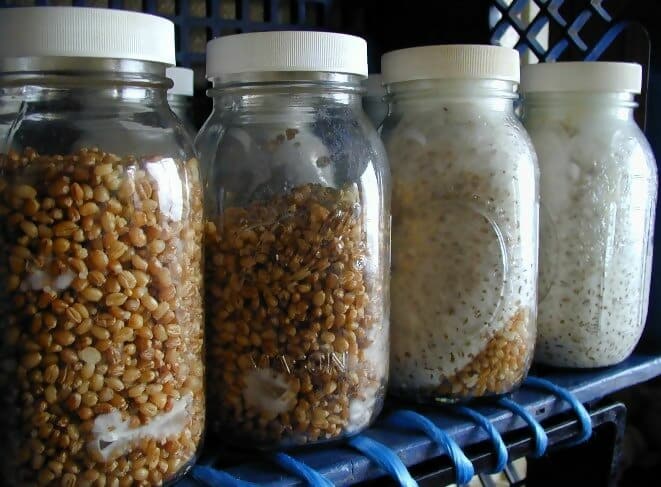
Grain Spawn is a highly effective for mushroom growing. The mycelia love to feed on the starch and sugars in the grain. To form first-generation grain spawn, the sterilized grain is inoculated with either mushroom spores or a mushroom culture under sanitary conditions. Once fully colonized, the grain can be mixed with a bulk substrate like a straw bed to start the growing process.
Many different types of grains can be used, including rye, wheat, barley, millet, brown rice, sorghum, bird seeds, and even popcorn. Rye is often the preferred choice. It has great water retention and doesn’t get mushy after being processed.
In general, grain spawn is a highly nutritious choices for the mycelia, but there are some disadvantages. For one, it is a substrate that is always enjoyed by bacteria and mold. For this reason, the grain must be pasteurized to kill any bacteria or mold spores (which will outcompete the mycelia if left in). To do this, a pressure cooker or autoclave is used, normally at 15PSI for 1.5 to 2.5 hours. Also, using grain on outdoor beds is an attractive food source for birds and other wildlife, which makes grain much more suitable for indoor cultivation. Grain spawn is also not suitable for outdoor log cultivation.
Mushroom grain spawn can be purchased here from Fungi Perfecti.
Sawdust Spawn
Sawdust spawn is commonly used as a second generation spawn, meaning it is capable of being expanded further into a bulk substrate for large cultivation. The sawdust is formed by finely ground hardwood, usually only a few millimeters in diameter. These tiny grains give many inoculation points for the mycelium. It also allows the mycelium to get familiar with wood as a substrate, so it can be efficiently transferred to hardwood fruiting blocks or logs easily with minimal stress on the mycelia.
Sawdust spawn is not as nutritious as grain spawn, so it is not as prone to being contaminated by mold and bacteria. Grow kits commonly use sawdust but mixed with more nutritious substrates like bran, which boosts yields. This is usually referred to as “enriched sawdust”.
It is also a good for outdoor cultivation when mixed with more nutritious nitrogen-rich substrates, since its not likely to attract birds or rodents as a food source. Like grain, sawdust must be sterilized prior to use through an autoclave or pressure cooker. Once properly sterilized, enriched sawdust spawn is quickly colonized. It is also relatively cheap compared to some grain types.
Sawdust spawn can be from these quality suppliers here or here to inoculate bulk substrates like wood chips.
Plug Spawn
Plug spawn refers to wooden dowels inoculated with mycelium. These are normally formed from mycelium spawn or the stems of mushrooms.Plug spawns are commonly used in outdoor cultivation on logs. In this case, cut hardwood logs are drilled with holes 6 inches apart, and plug spawn is hammered into the holes. Melted wax is then used to cover the plugs to seal the log.
Plug Spawn takes longer for full colonization compared to sawdust spawn and grain spawn, but they are simple to use, don’t get contaminated easily, require only a hand drill and rubber mallet, and can lead to great yields. They also don’t require a pressure cooker or autoclave to sterilize them, making it an easier option for beginners. In addition to logs, plug spawn can be used to colonize other wood substrates such as wood chips, paper, stumps, as well as cardboard. Plug spawn is not a good option for colonizing straw or grain substrates.
High-quality plug spawn can be found here at Northspore or here at Fungi Perfecti. They also sell the wax you need to seal the log holes.
Other types of spawn
- Woodchip spawn. This is mycelia that has inoculated wood chips. These have to be sterilized, and then normally placed in bags for later use in outdoor beds.
- Synthetic spawn. This is a common choice when growing the common white button mushroom. It is hard to contaminate and the mycelium grow quickly because it is made of fine particulates.
- Liquid spawn. This is mycelia enriched with mycelia or mushroom spores. It can be stored in a jar or liquid syringe.
Making Your Own Grain Spawn
Source: Freshcap Mushrooms
Making your own grain spawn is a great idea if you are a hobby grower and want to experience all the nitty-gritty of mushroom cultivation, if you’re a commercial mushroom cultivator who wants to move spawn creation in-house, or if you’re looking to grow strains that are not available through retail suppliers.
In this section, we will focus on making grain spawn. This is a highly accessible, beginner-friendly choice and has the added benefit of being a very nutritious spawn with tons of versatility for cultivation once they are made.
After making your spawn, you can go on to colonize bulk substrates like straw and sawdust indoors or in the garden.
Let’s get to it! There are two basic requirements when preparing your grain for making spawn:
The grain must be hydrated and sterilized.
To get started, you will need these already on hand:
- Dry grain. 1.5 quarts dry grain, or about three pounds (making 4 quart jars of spawn, scale accordingly depending on the amount of spawn wanted). Rye is a great option to use. It can be bought in 25lb bulk bags online or at a local farm supplier.
- Quart jars. 4 wide-mouth quart jars with rubber-sealed lids can be purchased online here.
- Modified jar lids. The lids of the jars must be modified to allow the mycelium to breathe and prevent microorganism contamination. A quarter-inch hole can be drilled in the top and you can insert polyfill, or polypropylene stuffing used in cushions. Alternatively, you can use synthetic filter disks as the inner disk in the jar lid which allows gas exchange and prevents contamination.
- A pressure cooker or autoclave. We need it to go to 15 PSI or about 250F to kill off any bacteria and mold that can contaminate the spawn. These can be purchased online as well. This is a great 23-quart option for a pressure cooker, and this 4.7-gallon works well as an autoclave (though more expensive).
- A strainer. This is to dry the grains after simmering. This 5-quart micro-strainer works well for big batches of grain.
- A 2-gallon or 5-gallon bucket. A 2-gallon can be found here, and a 5-gallon here. Of course, these can also be purchased easily (and probably cheaper) at any local hardware store.
- Gypsum. A little bit of gypsum will be added during the soaking process and prevents it from getting sticky and clumping together. It also acts as a pH buffer to help the mycelium grow.
Steps to preparing your grain spawn
1. Rinse the grain in the bucket. The grain will come with debris in it from the source, so fill and drain until the water runs clear.
2. Soak the grain for 12-24 hours (overnight). This is done to let the grain soak up water and also activates the mold spores which can be killed in the sterilization process. This can be done directly in the bucket. Make sure the water level is at least an inch above the surface of grain layer. Here, you can put about a tablespoon of gypsum. This helps prevent the grain kernels from sticking together and acts as a pH buffer which helps to keep the pH stable. Mushrooms like slightly acidic pH, between 5-7, while contaminants like mold do not. Once the gypsum has been added and mixed with the grain, cover the top of the bucket completely with saran wrap and allow to sit overnight.
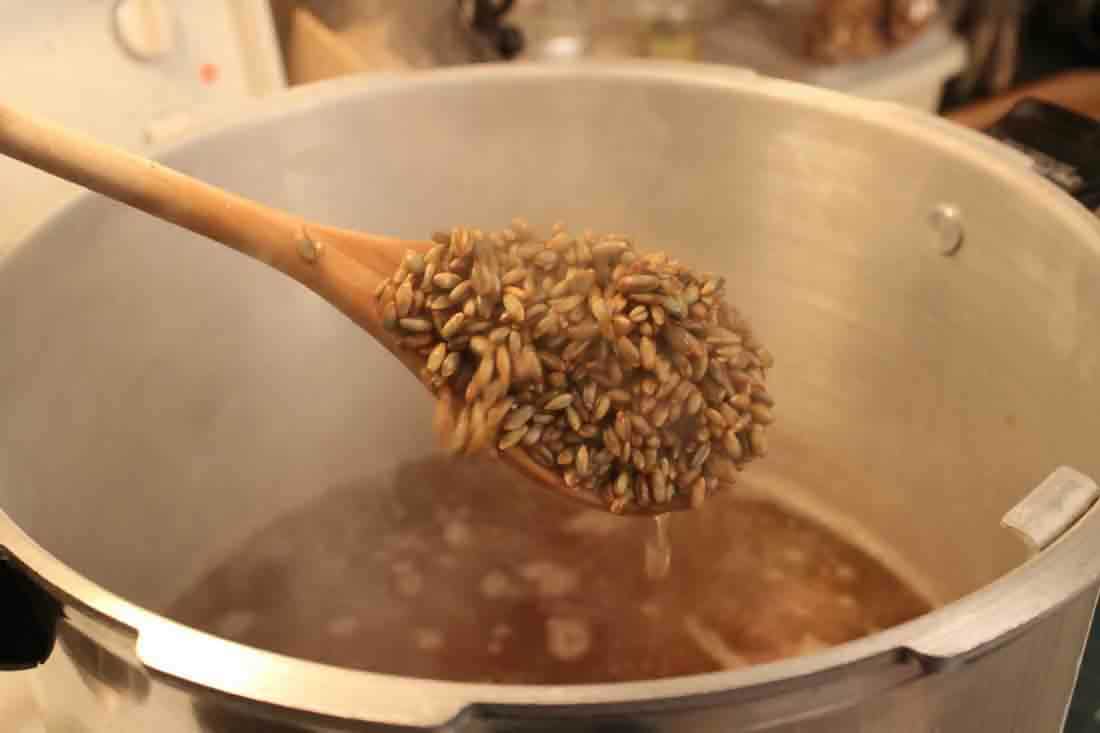
3. Simmer grain for 15-20 minutes in a large pot on the stove. This allows the grains to absorb even more water. You’ll find that the grains expand quite a bit at this point, which is why you only need about a third by volume of grains you think you’d need for the mushroom spawn.
4. Drain the water from the grain. You want the water to be in the grain kernel only, and evaporated off the surface of the grains. The grains will still be hot from the simmer step, which will help them steam the water away. Spread the grains over a metal screen to drain or use a strainer and shake the water off.
5. Load the quart jars with the grain. Fill the quart jars about ⅔ the way full. Cover the quart jars with the modified lids and place tin foil around the top to prevent water from entering during the sterilization process.
6. Sterilize grains for 90 minutes at 15 PSI (250F). You want the water in the sterilizer to be about halfway up the quart jar.
7. Inoculate the spawn.– Here, you can pure agar culture plate to the sterilized grains in sanitary conditions. Cultures can be purchased here. Growing pure mycelium on agar plates to make your own culture is out of the scope of this article, but you can learn how to do that with proper sterile technique from this website.
Once inoculated, the grain should be colonized within a week or two, and will get increasingly more white and fluffy as the mycelium expands. If the grains turn blue, pink, or yellow, this means contamination has set in (like mold), and this should be discarded.
Final Thoughts
Mushroom spawn is a crucial component of the mushroom growing process because it allows you to have a healthy, small amount of mycelium that can go on and colonize a variety of bigger substrates for the full-scale cultivation. There are a ton of choices when deciding on which mushroom spawn to use, but in general, grain is a great start for its ease of use and nutrition for the mycelium.
Making your own mushroom spawn is a fantastic way to get familiar with the full cycle of mushroom cultivation, and gives you tons of flexibility to make many different mushroom varieties. To learn more about growing your own spawn, Growing Gourmet and Medicinal Mushrooms by Paul Stamets is a comprehensive textbook that you will refer back to for years along your mushroom cultivation journey!